Pixel8系、Pixel7、Pixel7 Pro、Pixel7a、その他の Pixel でも同様の方法で設定できます。
スマートフォン版 Google ドキュメントで、表の列や行を追加、または削除する方法を解説します。
最初に表を作る時には列と行を指定して作りますが、書類作成を進めると足りなくなる事もしばしばあります。
スマートフォンでも後から簡単に表の列と行を追加できます。
行や列を追加するには?
行を追加
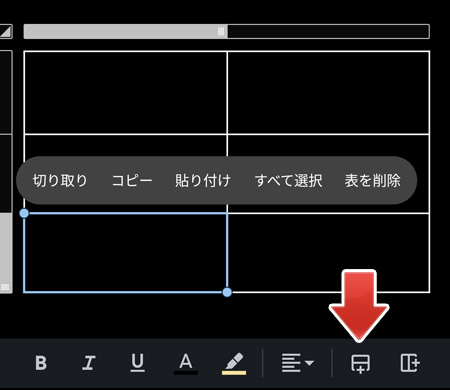
行を追加する直前の行をタップして、画面下部の行追加ボタンをタップします。
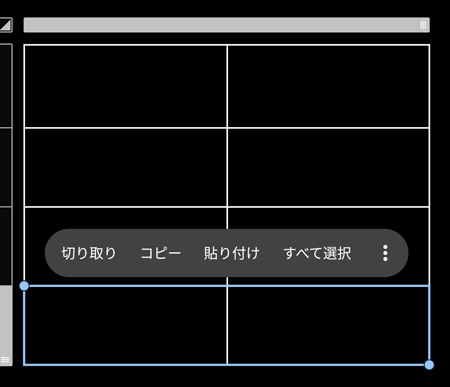
表に行が追加されました。
列を追加
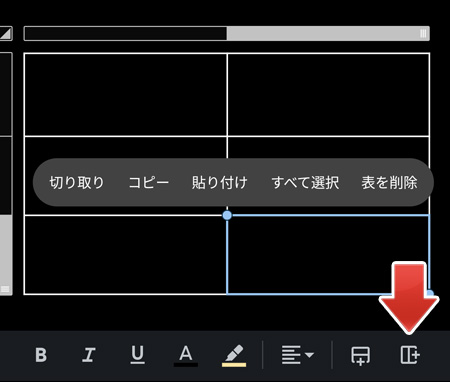
列を追加する直前の列をタップして、画面下部の列追加ボタンをタップします。
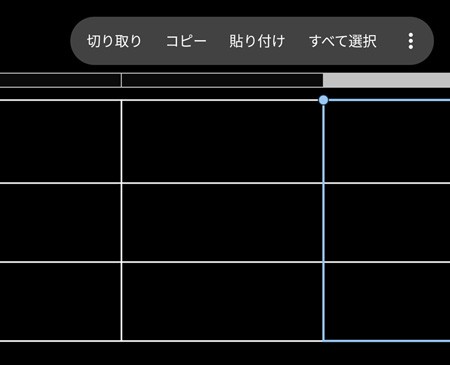
表に列が追加されました。
行や列を削除するには?
行を削除
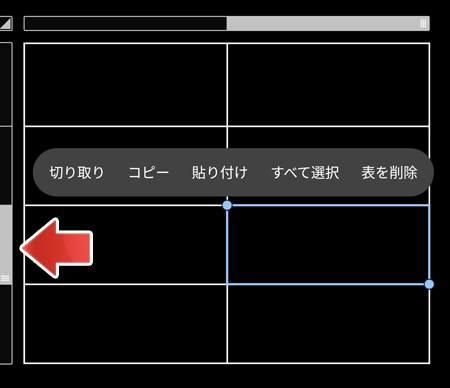
削除したい行のセルをタップしてから、左端のラインをタップします。
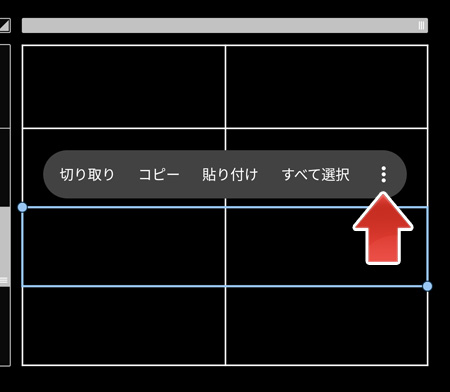
行が全選択されます。メニューの中から「︙」ボタンをタップします。
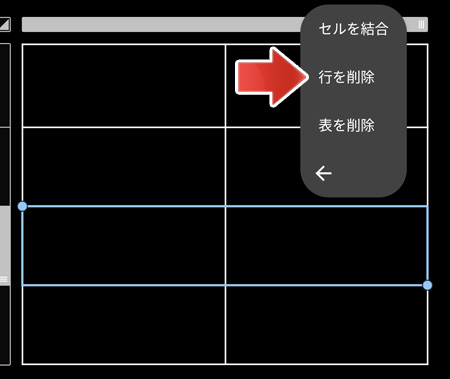
続けて表示されるメニューの中から、行を削除をタップします。
列を削除
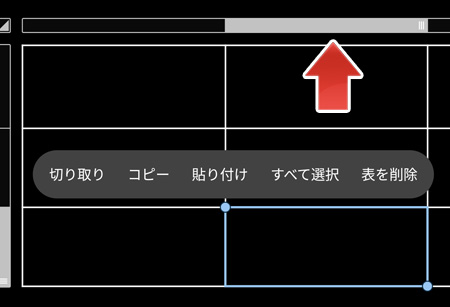
削除したい列をタップしてから、最上部のラインをタップします。
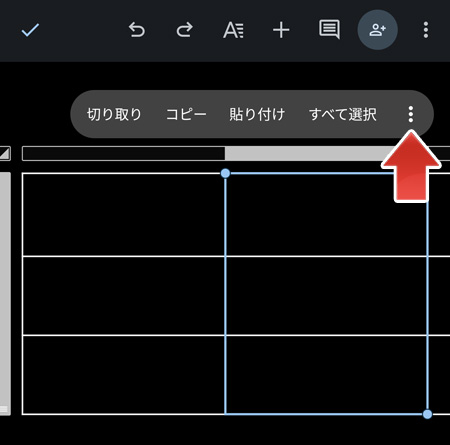
列が全選択されます。メニューの中から「︙」ボタンをタップします。
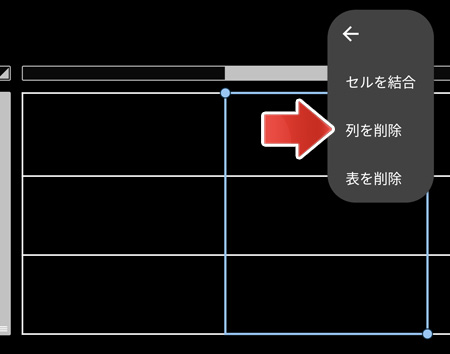
続けて表示されるメニューの中から、列を削除をタップします。
関連記事
表のセルを結合するには?